Introduction
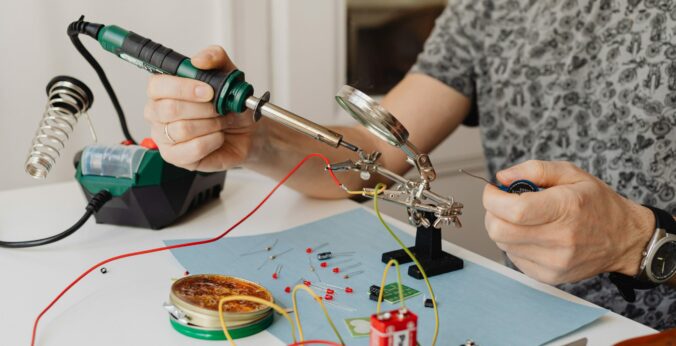
In our sixth session, we will learn how to solder together electronic boards and components of your Arduino MP3 player, and then modify the code to customize your new MP3 player.
Learning Objectives
- Use the Arduino Integrated Development Environment (IDE) to customize, compile, and upload code to an Arduino board.
- Solder the necessary sensor and output devices to your Arduino.
- Think about possible 3D printed or laser cut enclosures for your MP3 player (although we don’t have time set aside to create a custom enclosure, you are free to create one if you feel inspired!)
- Create a functioning MP3 player with your Arduino board.
Pre-class Activities (25 min)
Please prepare for our hands-on in-class activities by watching the following video!
- “How to De-Solder”, or remove soldered components from a board (4 min)
- Use the transcript of the video above as a reference guide when you are soldering during in-class time: Adafruit Soldering Tutorial
Class Time (30 min)
- Review the last class. Any questions or ideas?
- Soldering tips and tricks
- Q&A
Hands-on Lab Time (120 min)
- Update Ring designs to make them easier to mold next class.
- Test your MP3 Player to make sure it’s still working (15 min)
- Practice soldering with a test electronics board & text components (15 min)
- Continue work on Make an Arduino MP3 player including:
- Think about how you could organize the components into a case (3d printed or laser cut)
- Finish testing the provided code (if you didn’t complete this before now)
- Solder together the components of your MP3 player device (except to your Arduino board. Ask Rich if you have any questions about this)
- Take a picture and short video to show your fancy new MP3 player in action 😉
Critical Reflection (20 min)
- Blog about the following (including one or more pictures and/or videos):
- Your experience making your MP3 player
- Are there any other Arduino projects that look interesting to you?
- Can you think of any ways that the other prototyping tools we’ve already learned about (laser cutter & 3D printer) could be used in conjunction with an Arduino board?
- Continue brainstorming ideas for your major project (no decision on your final project need to be made at this time, and you may decide to do something else later in the course)
References
Adafruit Industries (Director). (2015, November 25). Collin’s Lab: Desoldering. https://www.youtube.com/watch?v=N_dvf45hN6Y
Adafruit Industries (Director). (2014, April 10). Collin’s Lab: Soldering. https://www.youtube.com/watch?v=QKbJxytERvg
circuiTician. (2022, January 10). I made an Arduino based music player using DFPlayer Mini. Hackster.Io. https://www.hackster.io/circuiTician/i-made-an-arduino-based-music-player-using-dfplayer-mini-c3c7c9
Cunningham, C. (2014). Collin’s Lab: Soldering. Adafruit Learning System. Retrieved 26 July 2023, from https://learn.adafruit.com/collins-lab-soldering?view=all
Koumaris, N. (2019). MP3 player using Arduino and DFPlayer mini. Electronics-Lab.Com. https://www.electronics-lab.com/project/mp3-player-using-arduino-dfplayer-mini/
