Introduction
In our fourth session, we will get hands-on with 3D printing and submit your ring prototype (from the last class) for printing. There are also several helpful settings and options available to you as you prepare to 3D print your prototype model that we will explore as a group.
Learning Objectives
- Describe the most used 3D printer settings and how they affect print jobs
- Prepare your ring model for 3D printing
- 3D print the signet ring using the Ultimaker Cura slicing software
Pre-class Activities (20 min)
Please complete the following pre-class work by watching the following videos and reflecting on how 3D printing can help you create prototypes and final products based on the 3D models you create:
How does 3D printing work (2 min)
Understanding 3D Printer Accuracy (6 min)
Using Ultimaker Cura to 3D Print (6 min)
Download & Install the free Ultimaker Cura software: Download
Class Time (30 min)
Lecture slides for reference purposes
- Discuss the pros and cons of using 3D printing for prototyping compared to other prototyping options
- Demonstrate the main features of Cura
- Q&A
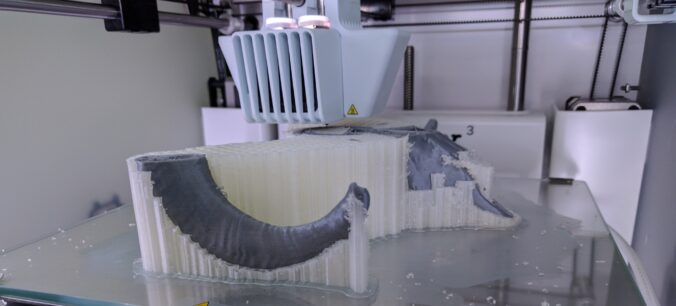
Hands-on Lab Time (90 min)
- Review ring designs in Cura to ensure that they will successfully 3D print
- Update ring designs based on feedback from an instructor
- Submit 3D print jobs
- We will observe the start of one of your classmate’s 3D print jobs
Critical Reflection (20 min)
- Blog about the following (including one or more pictures and/or videos):
- Your experience preparing your ring to be 3D printed in Cura
- Did you need to make any modifications to your ring design based on the feedback from DSC staff?
- Continue brainstorming ideas for your major project (no decision on your final project need to be made at this time, and you may decide to do something else later in the course)